
Recessed lighting has become a go-to choice for homeowners looking to modernize their spaces without bulky fixtures eating up ceiling real estate. Whether you’re renovating a kitchen, updating a bedroom, or adding ambient light to your living room, recessed lights offer clean lines and flexibility that other fixtures can’t match. The good news: installing and designing a recessed lighting layout isn’t as intimidating as it sounds, especially if you understand the basics of placement, spacing, and dimming options. This guide walks you through six practical recessed lighting ideas you can tackle or plan with confidence in 2026.
Table of Contents
ToggleKey Takeaways
- Recessed lighting provides clean, modern aesthetics by sitting flush into ceilings, offering flexibility without bulky fixtures that compromise design or ceiling space.
- Proper spacing is critical: divide ceiling height by 1.5 to determine maximum distance between lights—in standard 8-foot ceilings, space recessed lights roughly 5 feet apart for even illumination and no dark zones.
- Kitchens benefit from 6-inch recessed lights on a grid pattern combined with under-cabinet strips, while bedrooms and living rooms work better with fewer fixtures paired with dimmers and 2700K–3000K warm color temperatures.
- Always use dimmable LED-compatible fixtures with matching dimmer switches in bedrooms and living rooms to avoid flickering and ensure reliable dimming from full brightness to 20% or less.
- Professional installation is recommended for retrofit ceilings, complex wiring, or tight attic spaces, as a permit ($50–$150) and licensed electrician protect against safety issues and property damage.
- LED recessed lighting lasts 25,000–50,000 hours and costs significantly less to operate than halogen or incandescent models, making them a long-term energy-efficient investment for modern homes.
What Is Recessed Lighting and Why Homeowners Love It
Recessed lighting, sometimes called can lights or pot lights, consists of light fixtures installed flush into the ceiling so only the trim ring shows. The fixture itself sits inside a housing that’s mounted to the joist or rafter above. They come in standard sizes: 6-inch, 5-inch, and 4-inch diameters, with 6-inch being the most common for general illumination.
Homeowners love them for several reasons. They’re invisible when off, they don’t interfere with ceiling fans or crown molding, and they provide even, directed light without shadows or glare (when properly spaced). Modern LED recessed lights use a fraction of the energy of older halogen or incandescent models, and they last far longer, often 25,000 to 50,000 hours.
The trade-off: installing them requires cutting holes in drywall and, if you’re not running new circuits, working with existing wiring. Retrofitting (adding them to finished ceilings) is more labor-intensive than installing them during new construction or a framing-out remodel. If your home has deep insulation or limited attic access, professional installation may be the smarter call.
Kitchen Recessed Lighting: Designing the Perfect Layout
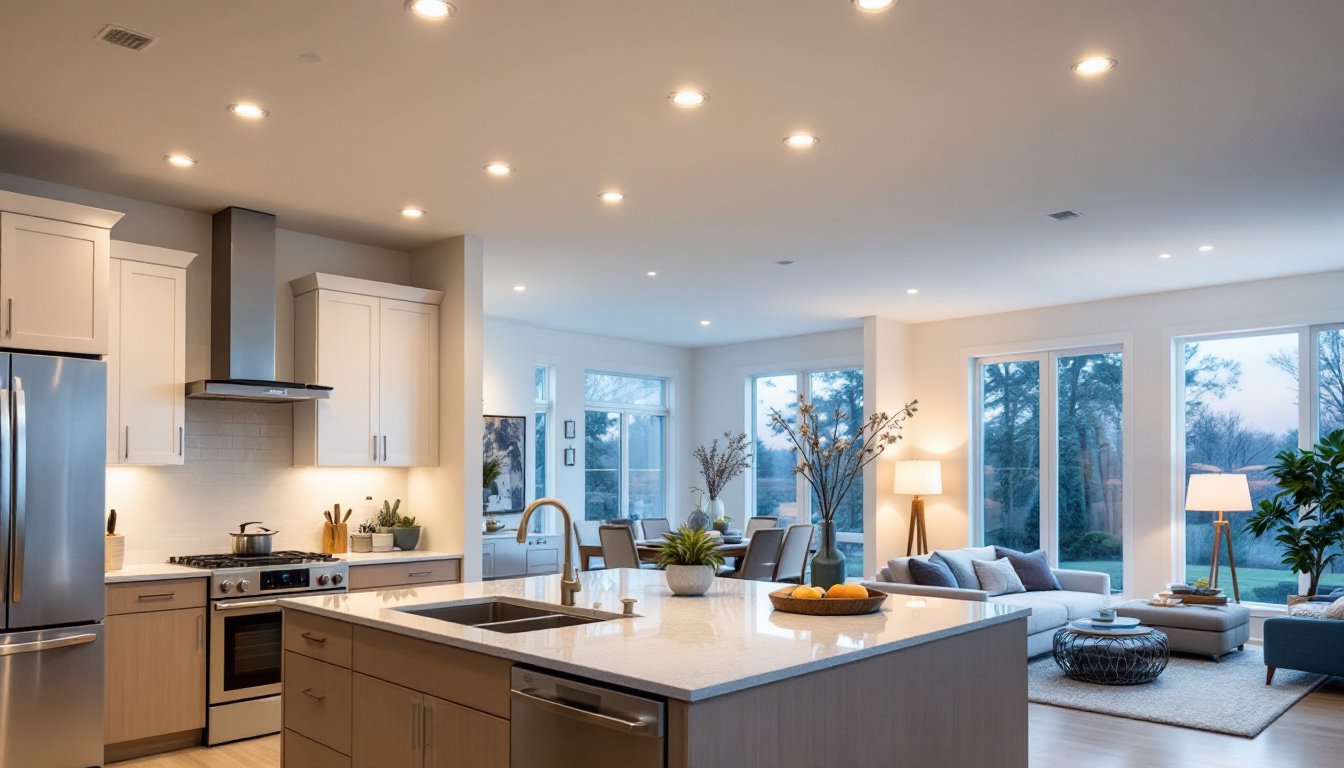
Kitchens are where recessed lighting shines, literally. You want bright, even task lighting over counters and islands, plus general ambient light so you’re not working in shadows. Most kitchens work well with a combination of recessed lights in the main ceiling plus under-cabinet strips for extra counter illumination.
A typical approach: install 6-inch recessed lights on a grid pattern across the ceiling for general light, then add 4-inch or 5-inch fixtures over the island or peninsula if you have one. Choose 3000K to 4000K color temperature for kitchens, warmer than pure white but bright enough to see food colors accurately.
Spacing and Placement Tips for Even Illumination
The golden rule is spacing: divide your ceiling height by 1.5 to get the maximum distance between lights. In a standard 8-foot ceiling, that means lights spaced roughly 5 feet apart deliver even coverage. If you space them 6 feet apart, you’ll see darker zones between fixtures.
Here’s the process: measure your kitchen, sketch the ceiling layout on graph paper, and mark fixture centers. Avoid placing lights directly over the sink, the fixture will cast a shadow when you’re working. Instead, offset them slightly forward or to the sides. Over an island or peninsula, a single row of 2 to 3 lights running the length usually works better than scattering them randomly.
When cutting rough openings, use a drywall hole saw the correct diameter for your housing. Mark centers with a stud finder first, you’ll need to locate joists if you’re installing between them. Most recessed housings require a minimum of 6 inches of clearance above the ceiling for the fixture to fit, so check your attic space before committing to placement.
Bedroom and Living Room Recessed Lighting Solutions
Bedrooms and living rooms demand a softer touch than kitchens. You want the option to dim the lights for movie nights or relaxation, not harsh overhead brightness. Recessed lights work brilliantly here when paired with dimmers and the right color temperature.
For bedrooms, fewer, well-placed lights are better than a grid. A bedroom might need only 4 to 6 fixtures depending on size, enough for reading or getting ready, but not so bright they feel institutional. Living rooms often benefit from layered lighting: recessed lights for general ambient light, plus floor lamps and table lamps for task and accent lighting. This combination gives you flexibility and warmth.
Creating Ambiance With Dimmers and Color Temperature
Dimmers are non-negotiable for any bedroom or living room recessed lighting. They let you drop from full brightness down to 20% or less for evening comfort. Make sure you’re pairing dimmable LED recessed lights with a LED-compatible dimmer switch, older incandescent dimmers won’t work reliably with LEDs and may cause flickering or buzzing. Cost difference is minimal, usually $5 to $15 more per bulb or fixture.
Color temperature matters equally. Measure in Kelvin (K): 3000K is warm, sunset-like light ideal for bedrooms and relaxation spaces: 4000K is neutral, good for bathrooms and transitional areas: 5000K and above is cool, better for task-focused work. For most bedrooms and living rooms, stick with 2700K to 3000K.
As you’re planning, remember that replacing 6-inch recessed cans with high-quality LED is often simpler than a full rewire if you’re upgrading older fixtures. Check your existing circuit capacity, a standard 15-amp circuit can safely run about 10 to 12 standard LED recessed lights depending on wattage.
Installation and Maintenance Essentials
Installing recessed lighting yourself is doable if you’re comfortable working in an attic or above a drop ceiling, running electrical wire, and cutting drywall openings. If you’re modifying an existing circuit or adding new wiring, check your local building codes, many jurisdictions require a licensed electrician for any hardwired work. A permit often costs $50 to $150 and saves liability headaches.
Tools you’ll need: stud finder, drywall hole saw (matched to housing diameter), utility knife, wire stripper, voltage tester, and your housing-specific trim ring tool if applicable. Safety gear is critical: wear safety glasses when working overhead, use a dust mask when cutting drywall, and always shut off power at the breaker before touching any wiring.
Retrofit (existing ceiling) installations are trickier because you’re working from below. You’ll cut the hole, reach up through it, and secure the spring clips or mounting brackets from inside the cavity, sometimes with minimal space. This is where hiring a pro might save frustration and potential ceiling damage.
For maintenance, recessed lights are pretty hands-off. LED units rarely burn out, but if one does, replacement bulbs are inexpensive ($8–$30 depending on quality and features). Clean trim rings and lenses annually with a soft, dry cloth to prevent dust buildup. If you notice flickering after years of use, it’s usually a failing LED driver (the converter inside the fixture), which is often replaceable. Resources like This Old House and Bob Vila offer detailed installation walkthroughs if you decide to tackle the project yourself.
Conclusion
Recessed lighting transforms rooms with minimal visual clutter and maximum design flexibility. Whether you’re layering light in a kitchen, creating mood in a bedroom, or balancing brightness in a living room, the right placement, spacing, and color temperature make all the difference. Start with a clear plan, invest in dimmable LED fixtures, and don’t skip proper spacing calculations, they’re the difference between professional-looking results and uneven, shadowy coverage. If wiring or attic work feels beyond your comfort zone, calling in a licensed electrician is worth the cost for safety and longevity.


