
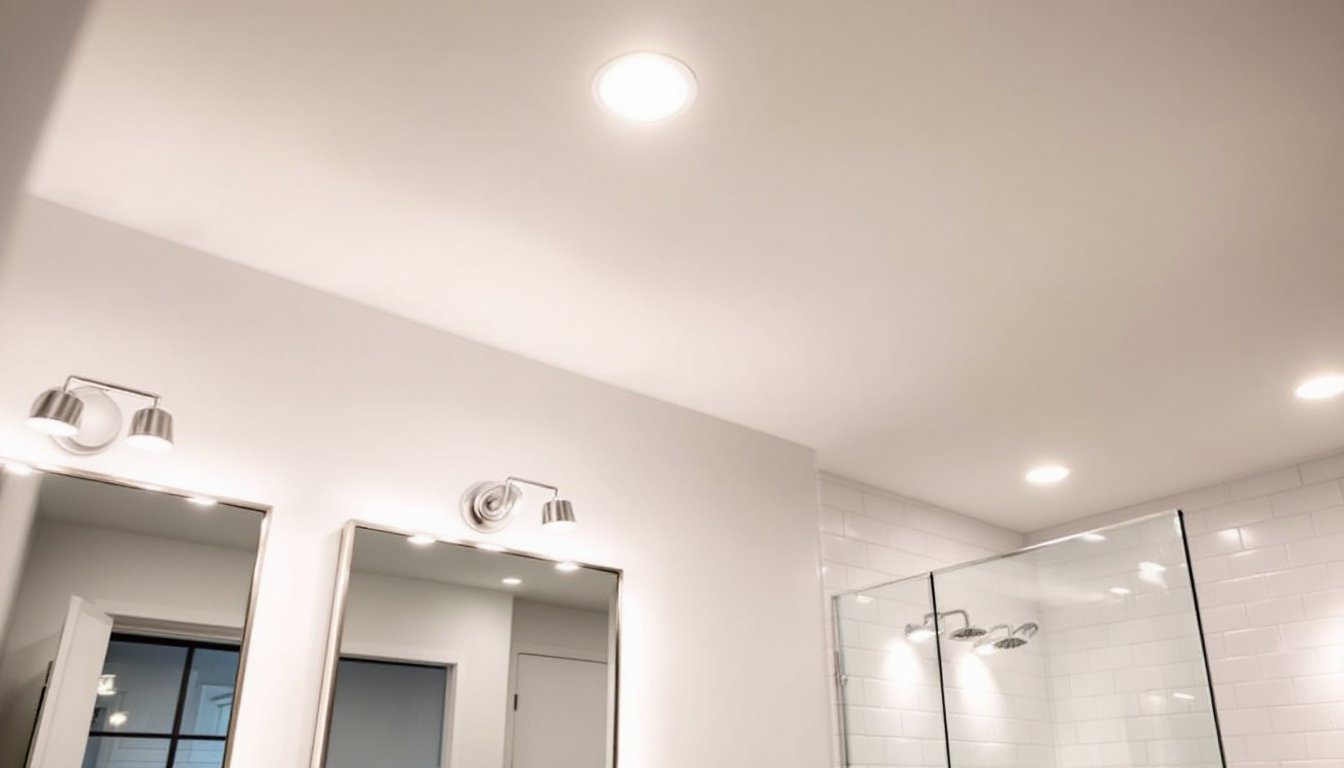
Recessed lighting has become the go-to choice for modern bathrooms, and for good reason. Unlike surface-mounted fixtures, recessed lights sit flush with the ceiling, creating a clean, streamlined look while providing even illumination across the space. Whether you’re renovating a master bath or refreshing a powder room, understanding bathroom recessed lighting basics, from spacing and placement to fixture selection and installation, helps you avoid costly mistakes and achieve professional results. This guide walks you through everything you need to know to plan, choose, and install recessed bathroom lighting that’s both functional and visually appealing.
Table of Contents
ToggleKey Takeaways
- Bathroom recessed lighting creates a clean, streamlined aesthetic while providing even illumination without consuming headroom, making it ideal for modern bathrooms of any size.
- Proper placement is critical: position fixtures 24–30 inches from vanity mirrors on either side, use the spacing formula (room width ÷ 2) for general coverage, and keep fixtures at least 12 inches from moisture sources like showers.
- Select fixtures based on three key specifications—brightness (1,000–1,500 lumens for vanity task lighting), warm white color temperature (2,700K–3,000K), and IP65/IP67 wet-rating for bathrooms within 6 feet of water sources.
- LED bulbs are the practical standard for bathroom recessed lighting, with a 10-watt LED producing approximately 800 lumens and dimming-capable options available for energy savings and ambiance control.
- DIY installation requires 4–6 inches of ceiling cavity space, a voltage tester, proper safety equipment, and careful planning; if you’re uncomfortable with electrical work, hire a licensed electrician to avoid costly mistakes and safety hazards.
- IC-rated (insulation contact) fixtures are essential if your recessed lights will touch insulation, while moisture-rated fixtures cost 20–40% more but are non-negotiable for wet bathroom environments to prevent rust and electrical hazards.
Understanding Bathroom Recessed Lighting Basics
What Makes Recessed Lighting Ideal for Bathrooms
Recessed lights, also called downlights or can lights, are fixtures mounted inside the ceiling cavity with only a trim ring and lens visible from below. In bathrooms, they excel for several reasons. First, they don’t eat up precious headroom, important in smaller bathrooms where every inch counts. Second, they distribute light evenly without creating harsh shadows, which matters when you’re looking in the mirror. Third, they’re moisture-resistant options available, which is critical since bathrooms are wet environments.
The main advantage over surface-mounted fixtures is aesthetic. Recessed lighting doesn’t interrupt the ceiling plane, making the room feel larger and more polished. Many homeowners prefer them for that reason alone. But, they do require ceiling cavity space, typically 4 to 6 inches between the ceiling surface and the roof decking or upper floor above. If you have a shallow attic or suspended ceiling, surface-mounted fixtures or semi-flush mounts might be your only option.
One important consideration: recessed lights can create thermal bypass if not properly sealed, especially in insulated ceilings. Building science suggests you’ll want IC-rated fixtures (insulation contact-rated) if they’ll sit in contact with insulation. If they won’t touch insulation, standard non-IC fixtures work fine and cost less. Always check your local building code, as requirements vary by jurisdiction.
Planning Your Recessed Lighting Layout
Spacing and Placement Strategies
Layout planning is where most bathroom lighting projects succeed or fail. Start by measuring your bathroom dimensions and identifying key zones: the vanity mirror, shower or tub area, and general ambient zones. The vanity typically needs the most attention since that’s where people groom and apply makeup.
For vanity lighting, mount recessed fixtures 24 to 30 inches from the mirror surface, positioned on either side of center. This flanking approach minimizes shadows on the face, far better than a single overhead light. Alternatively, position one or two fixtures directly above the mirror at 30 to 36 inches away. If your ceiling height is less than 8 feet, aim for the closer spacing to avoid glare and shadows.
For general ceiling coverage, use the spacing formula: fixture distance = room length or width divided by 2. If your bathroom is 8 feet wide, space fixtures 4 feet apart. So you’d install fixtures at 2 feet and 6 feet from one wall. In a small half-bath, a single centered fixture works, but it won’t flatter the vanity. In larger bathrooms, create a grid pattern for even light distribution. Keep fixtures at least 6 inches from walls to avoid awkward shadows.
For shower and tub areas, follow the same spacing logic, but position fixtures so they light the entire enclosure without glare bouncing off wet tile. Keep fixtures at least 12 inches away from moisture sources like shower spray zones, this protects the fixture housing from excessive humidity. If your shower has a steam generator or high-humidity environment, moisture-rated fixtures become non-negotiable.
Sketch a layout on paper before cutting ceiling holes. Mark fixture locations, then measure twice. Many DIYers recommend proper spacing principles across rooms to inform bathroom thinking.
Choosing the Right Fixtures and Specifications
Brightness, Color Temperature, and Moisture Ratings
Once placement is set, fixture selection comes next. Three specifications matter most: lumens (brightness), color temperature (warmth), and moisture rating.
Brightness is measured in lumens. For bathroom vanity lighting, aim for 1,000 to 1,500 lumens per fixture, enough to provide shadow-free task lighting without washing out the room. General ambient lighting needs 2 to 3 lumens per square foot. So a 50-square-foot bathroom needs roughly 100 to 150 lumens of ambient light. If you install four recessed fixtures in that space, each should deliver 25 to 40 lumens. LED bulbs have made this easier: a 10-watt LED produces roughly 800 lumens, and a 14-watt LED produces about 1,200 lumens. Incandescent equivalents waste energy and generate heat, so LED is the practical standard now.
Color temperature, measured in Kelvins (K), affects how the light feels. 2,700K to 3,000K is warm white, ideal for bathrooms because it feels inviting and flatters skin tone. 3,500K to 4,100K is cool white, sometimes used in larger bathrooms for a modern look. 5,000K and above is daylight, too harsh for bathrooms. For vanity lighting, warm white performs best. Many bathroom lighting plans use warm white throughout for consistency.
Moisture rating is non-negotiable. Look for fixtures rated IP65 or IP67 (Ingress Protection ratings indicating dust and water resistance). Wet-rated fixtures are specifically designed for areas that experience direct water spray or high humidity. Anything within 6 feet of a shower or tub should be wet-rated. The National Electrical Code (NEC) requires certain moisture protections in bathrooms, though exact rules vary by jurisdiction. When in doubt, use wet-rated fixtures, they cost 20% to 40% more than standard fixtures but prevent rust and electrical hazards.
Dimming capability is a bonus. If you install TRIAC-compatible LED bulbs and dimmers, you can adjust brightness for different times of day, saving energy and creating ambiance. Not all LED bulbs are dimmable, so verify before purchasing.
Installation Tips for DIY and Professional Setup
Recessed lighting installation requires careful prep and execution. Before you start, check your attic or ceiling cavity for obstacles like joists, pipes, or wiring. If the path is clear and you have 4 to 6 inches of cavity space, DIY installation is feasible for someone comfortable with basic carpentry and electrical work. If you’re unsure, hire a licensed electrician, electrical mistakes in a bathroom are serious.
Tools and materials you’ll need:
- Recessed light housing units (IC-rated or non-IC, as determined)
- Trim rings and bezels
- LED bulbs (appropriate wattage and color temperature)
- Wire nuts and electrical tape (for connections)
- Drywall saw or hole saw (typically 5 or 6 inches, matching your fixtures)
- Stud finder and level
- Voltage tester (absolutely critical for electrical safety)
- Wire strippers, screwdrivers, and a ladder
Basic installation steps:
- Turn off power to the bathroom circuit at the breaker panel. Use a voltage tester to confirm the circuit is dead, no exceptions.
- Locate and mark fixture positions using your layout sketch. Use a stud finder to verify no joists run directly above. A ceiling joist running through a fixture location requires relocation or a reroutable fixture housing.
- Cut ceiling openings using a drywall or hole saw matching your fixture size (typically 5 or 6 inches). Cut slowly: drywall dust will coat everything.
- Run electrical wire from the bathroom’s existing circuit (or a new circuit if required) to each fixture location. 14-gauge wire for 15-amp circuits and 12-gauge for 20-amp circuits are standard. Depending on layout, this may require routing through the attic or walls, not a beginner task if walls are already finished.
- Install the housing by sliding it through the ceiling opening and securing it to joists with the mounting brackets included. Ensure the housing sits flush and level.
- Make electrical connections inside the housing using wire nuts, taping all connections securely. Follow the fixture’s wiring diagram carefully. This is where a professional electrician earns their fee, improper wiring causes fires.
- Install the trim ring and bulb, then close the trim. Ensure trim sits flush against the ceiling to prevent light leaks and insect entry.
- Restore power and test each fixture. If any flicker or don’t turn on, check connections before calling for help.
Costs vary widely. A simple retrofit using reroutable fixtures in an uninsulated attic might run $150 to $300 per fixture including labor. Complex installations requiring new wiring, structural modifications, or professional electrician time can exceed $500 per fixture.
For bathrooms with moisture concerns or if you’re uncomfortable running wiring, hire a licensed electrician. It’s not the place to cut corners.
Safety reminders: Wear safety glasses when cutting drywall, dust gets everywhere. Gloves protect hands from sharp edges. If touching any wiring, wear non-conductive work gloves. Always confirm power is off with a voltage tester before touching any electrical components.


