
A small kitchen doesn’t mean you’re stuck with harsh overhead lights or dim corners. Small kitchen pendant lighting offers both function and style, dropping light exactly where you need it without eating up precious counter space. Whether you’re working with a galley kitchen, an open-concept nook, or a tight eat-in space, pendants can anchor your workspace, define the zone, and make the room feel intentional. This guide walks you through sizing, placement, and installation so you can pick fixtures that actually work for your space rather than fight against it.
Table of Contents
ToggleKey Takeaways
- Small kitchen pendant lighting saves counter space while providing targeted task lighting exactly where you need it, without the footprint of traditional fixtures.
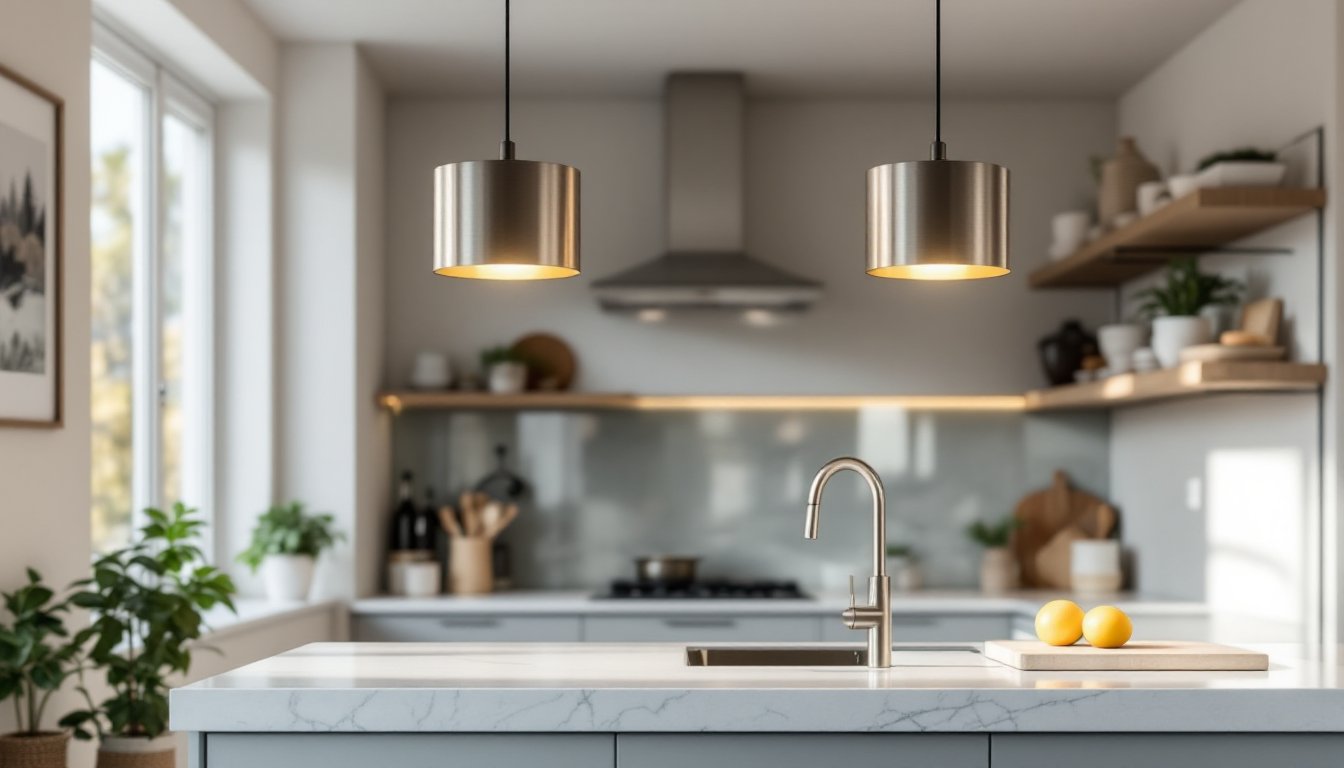
- Optimal pendant sizing for small kitchens is 8–12 inches in diameter for single fixtures, hung 18–20 inches above countertops to balance light distribution and safety.
- Modern, industrial, and open-frame pendant styles with glass or lightweight metal shades work best in compact kitchens because they maintain visual openness and don’t dominate the space.
- Proper placement over work zones like sinks, islands, or prep counters requires locating ceiling joists and following electrical codes—DIY wiring replacements are possible, but new installations often need a licensed electrician.
- Pendant lighting ranges from budget-friendly options ($20–$40) to premium designs, and warm white LED bulbs (2700K) create a cozy atmosphere ideal for small kitchen-dining combinations.
Why Pendant Lighting Works Best in Small Kitchens
Pendant lights hang from the ceiling on a cord, chain, or rigid stem, focusing light downward over a specific area, typically a countertop, island, or sink. This targeted approach beats a single overhead fixture because it doesn’t illuminate every corner equally: instead, it brings brightness exactly where you’re chopping vegetables or reading a recipe.
In compact kitchens, that precision matters. A pendant doesn’t take up wall or shelf real estate, so you get task lighting without the footprint of a table lamp or under-cabinet strip. It also creates visual interest: a well-chosen fixture becomes décor rather than just another appliance.
Space-Saving Design Principles
The key is vertical thinking. Small kitchens benefit from lighting that lives overhead rather than on surfaces. A single pendant or pair of pendants hung at 18 to 20 inches above the countertop keeps the light beam concentrated and the ceiling-to-pendant distance reasonable for a compact room.
Choose fixtures with open bottoms or translucent shades so light isn’t blocked upward. This makes the room feel taller and less cave-like. If your kitchen already feels cramped, avoid heavy, oversized shades that dominate the visual space. A slender stem or thin chain also helps, it doesn’t interrupt sightlines the way a thick cord might.
Talk to designers at The Kitchn and you’ll notice they favor pendant lighting for galley and small eat-in kitchens for exactly this reason: it solves lighting without clutter.
Choosing the Right Pendant Light Size and Scale
Sizing matters more than you’d think. A pendant that’s too big visually dominates the space: too small and it looks lost and won’t cast enough light. For small kitchens, aim for 8 to 12 inches in diameter for a single hanging shade. If you’re installing a pair over an island or sink, stay in the 8 to 10 inch range per fixture.
A good rule: the width of your pendant should be roughly one-third the width of the surface below it. If your island is 36 inches wide, each of two pendants should be about 12 inches across. For a 24-inch-wide section of counter, a single 8-inch pendant works well.
Height matters too. Hang the bottom of the shade 18 to 20 inches above countertops, and 24 to 30 inches above dining tables. Go lower and you risk glare or obstruction: higher and the light spreads too wide. In rooms with standard 8-foot ceilings, this is tight, make sure you’re not hanging pendants so low that someone 5’10” bumps their head.
Material also affects perceived scale. A metal shade feels more substantial: a ceramic or glass shade reads lighter. In a cramped kitchen, lighter often feels better, it doesn’t weigh down the visual space.
Best Pendant Styles for Compact Kitchens
Modern and industrial styles work well because they tend toward thinner stems and smaller shades. A brushed nickel or matte black metal shade with a simple cylindrical or dome shape won’t feel fussy in a tight space. Farmhouse and cottage styles can work too if you avoid oversized, ornate designs.
Glass shades are excellent for small kitchens because light passes through them without visual obstruction. Clear, frosted, or lightly tinted glass keeps the focus on the light itself rather than a heavy object. Avoid opaque shades that block upward light: they’ll make your ceiling feel lower.
Open-frame designs, think a simple metal cage or grid, cast beautiful shadow patterns and don’t feel solid or heavy. They’re also easier to clean than fully enclosed shades.
When shopping, remember that kitchen lighting Home Depot offers a broad range of pendant options, from budget-friendly plastic shades to premium brass and glass combinations. Pick based on your aesthetic and use case: a sleek modern shade for contemporary kitchens, a simple schoolhouse or cage design for transitional spaces.
Material durability also matters. Metal shades in moisture-prone areas (near the sink) should be rust-resistant or sealed. Glass is forgiving and easy to wipe down. Fabric shades are beautiful but absorb cooking odors and grease, so they’re better suited to dining areas within the kitchen rather than directly over the stove.
Placement and Installation Tips for Maximum Impact
The best pendant won’t help if it’s in the wrong spot. Think about your workflow: where do you spend the most time? Over the sink washing dishes? Chopping at the counter? If you have an island, that’s often the prime real estate for pendants because it’s the visual anchor and the functional hub.
For a single pendant, center it over a sink or the widest section of countertop. For two pendants over an island, space them about 12 inches in from each end and roughly 24 to 36 inches apart (adjust based on island width and personal preference).
Check your ceiling before you buy. You’ll need a light switch within reach, either existing or newly installed. Running new wiring in a finished ceiling means cutting into drywall and routing wire through the ceiling cavity. If you’re not comfortable with electrical work, this is a task for a licensed electrician, it’s not difficult, but it involves live circuits and building codes.
Lighting Layouts for Different Kitchen Configurations
Single-wall or galley kitchens: One or two pendants over the main prep counter, or a pair flanking the sink, creates focused task lighting without visual clutter.
Island kitchens: Two pendants hung in a line above the island, spaced evenly, anchor the space and provide task lighting for both sides. If your island is very small (under 24 inches wide), a single centered pendant works fine.
Open-concept with eating bar: Pendants hung over the bar edge define the boundary between kitchen and living area while lighting the seating zone. This is where design and function merge, the pendants become part of the room’s visual statement.
Always use a stud finder and level to locate ceiling joists before drilling. Pendants must hang from joists (structural supports), not just drywall. If a joist isn’t where you want the light, you’ll need an adjustable brace bar (also called a “pancake bar”) that spans between two joists.
For electrical work, turn off power at the breaker, use a voltage tester to confirm the wire is dead, and follow local building codes. Most jurisdictions require permits for new ceiling fixtures, and inspection ensures your work is safe and up to code.
Budget-Friendly and DIY-Friendly Pendant Options
Not every pendant requires a licensed electrician. If you’re replacing an existing ceiling light with a pendant (same mounting location, same circuit), the electrical work is straightforward: kill the breaker, disconnect the old fixture, and wire in the new one using wire nuts and a simple connection. This takes an hour and costs nothing beyond the fixture itself.
Simple pendants from big-box retailers or online shops often come with standard medium or candelabra base bulbs, making replacement and upgrades cheap and easy. Look for models with E26 (standard) or E12 (candelabra) sockets so you can swap in LED bulbs later.
Budget options starting around $20–$40 per fixture exist in brushed metal or simple glass. Mid-range ($60–$150) brings better build quality and more design options. Premium fixtures ($150+) offer unique materials or finishes but aren’t necessary for a functional, attractive small kitchen.
LEDs are standard now. A warm white (2700K) LED bulb creates a cozy kitchen atmosphere: neutral white (4000K) feels crisp and modern. For a small kitchen that doubles as a dining area, warm white is usually more forgiving.
One overlooked budget hack: if you already have ceiling fixtures you like, resources like Apartment Therapy showcase creative shade swaps and upgrades. You can buy a new shade to fit your existing fixture’s base, changing the whole look without rewiring.
If you’re handy but not an electrician, focus on the installation, measuring, mounting, and connecting the fixture, and leave major rewiring to a pro. That way you save labor cost while staying safe. Remember: electrical shock and fire hazards aren’t places to experiment. When in doubt, call a licensed electrician. Most charge $100–$200 per fixture installation, which is cheap insurance.


