
Outdoor wall lighting does more than illuminate your porch or patio, it shapes how your home looks at night and how safe it feels. Well-placed fixtures improve visibility, enhance curb appeal, and extend the usable hours of outdoor spaces. Whether you’re lighting a narrow entryway or a sprawling deck, choosing the right outdoor lighting wall setup requires understanding your space’s needs and the fixture types available. This guide walks you through the essentials, from why wall-mounted fixtures matter to installation tips you can handle yourself.
Table of Contents
ToggleKey Takeaways
- Outdoor lighting wall fixtures improve both safety and curb appeal by eliminating dark spots, deterring unwanted visitors, and adding architectural character to your home’s exterior.
- Choose between sconces, lanterns, uplighting, and downlighting based on your home’s style and functional needs—sconces work at eye level for general illumination, while uplighting highlights features and downlighting illuminates pathways and steps.
- LED outdoor wall lighting uses 75–80% less energy than incandescent bulbs, lasts 25,000+ hours, and delivers the same brightness in lumens at lower wattage, making it a cost-effective long-term investment.
- Proper spacing and light output matter: space sconces 6–8 feet apart, use 800 lumens for small entries and 1,500–3,000 lumens for larger areas, and check local light pollution ordinances before installation.
- Installation requires GFCI-protected circuits for safety, correct anchors for your wall material (masonry, siding, or wood), and sealed waterproof connections—hire a licensed electrician for complex wiring or new circuits to ensure code compliance.
- Maintain outdoor wall lighting by cleaning glass panels monthly, inspecting caulk annually, and checking local building codes and permit requirements before starting your project to protect your home’s resale value.
Why Outdoor Wall Lighting Matters for Your Home
Outdoor wall lighting serves practical and aesthetic purposes. On the practical side, good exterior lighting improves safety by eliminating dark spots where steps, pathways, or obstacles hide. Visitors and family members can move confidently from driveway to door. Security also benefits, well-lit exteriors deter unwanted visitors more effectively than dark ones.
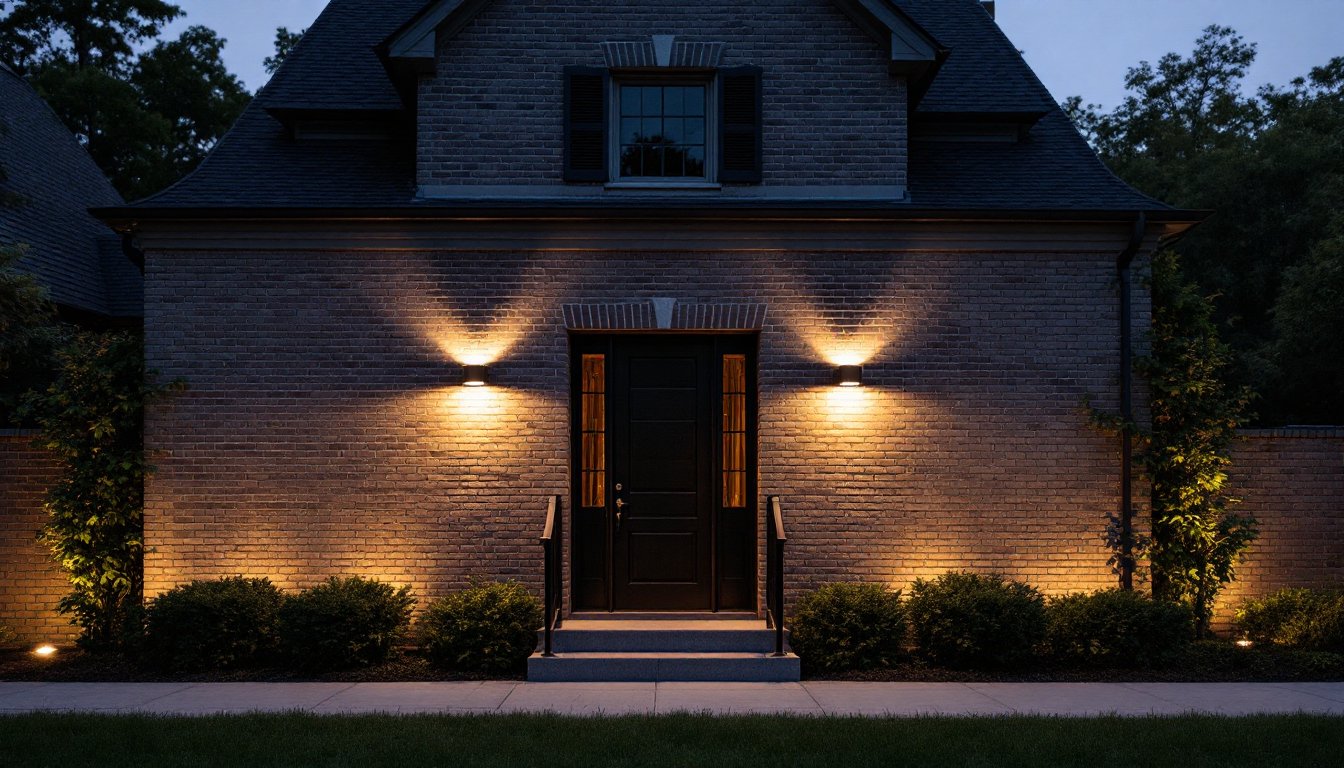
Aesthetically, wall-mounted fixtures add architectural interest and dimension to blank walls and siding. A strategically placed sconce can frame an entryway, highlight a brick facade, or wash texture across stone. Unlike post lights or ground-level uplights, wall fixtures integrate directly into your home’s surface, making them a natural part of its character.
Code compliance matters too. Most jurisdictions require exterior lighting near entrances and stairs (check your local building codes for specifics). Adding wall lights isn’t just a design choice, it’s often a safety requirement. The combination of improved visibility, security, and aesthetic appeal makes outdoor wall lighting one of the highest-return home improvement projects for modest investment.
Types of Outdoor Wall Lights to Consider
Understanding fixture categories helps narrow your choices. The main types, sconces, lanterns, uplighting, and downlighting, each serve different purposes and create distinct atmospheres.
Sconces and Lanterns
Sconces are the workhorses of outdoor wall lighting. These fixtures mount directly to the wall at eye level (typically 48–60 inches above grade) and direct light outward or slightly downward. Traditional sconces pair well with colonial, craftsman, and farmhouse styles, while modern linear sconces suit contemporary homes. Wet-rated sconces (UL rating for direct water exposure) suit covered porches and semi-exposed walls: damp-rated fixtures work for sheltered areas like covered decks.
Lanterns, boxed or cylindrical fixtures with glass panels, offer a classic look and are often used in pairs flanking entryways. They’re durable and hold up well in harsh weather. Lanterns tend to distribute light more diffusely than sconces, making them good for general ambiance. The downside? They collect dust and bugs behind the glass, requiring regular cleaning.
When choosing between sconces and lanterns, consider your home’s architectural style. A modern farmhouse benefits from clean-lined black metal sconces: a cottage style shines with traditional lanterns. Most quality sconces and lanterns range from $30 to $150 per fixture, depending on material (aluminum, steel, or weather-resistant composite) and finish (powder-coated, oil-rubbed bronze, or stainless steel).
Uplighting and Downlighting Options
Uplighting fixtures point light upward, often mounted low on the wall or along the base of a column. This technique highlights architectural features, stone chimneys, textured siding, or climbing vines, and creates dramatic shadows at night. Uplights work well when mounted below eye level where they won’t glare into residents’ or visitors’ eyes.
Downlighting, the reverse, mounts higher on the wall and directs light downward. These fixtures illuminate steps, deck railings, or planters directly below. Downlights are practical for safety and work especially well along pathways or on decks with railings. Some homeowners combine uplighting and downlighting on the same wall for layered, dimensional lighting.
Both types come in adjustable configurations. Swivel-head downlights let you aim light precisely, while flood-style uplights cast broad washes of color. LED versions are increasingly common, they run cooler, last longer (25,000+ hours), and use 75–80% less energy than incandescent alternatives. Consider recent reviews of top outdoor wall-mounted lights when evaluating specific models.
How to Choose the Right Outdoor Wall Lighting for Your Space
Assessing Your Exterior Layout and Needs
Start by mapping your exterior. Walk around your home at dusk and identify dark spots, entryways, steps, pathways, blind corners. Mark areas where you entertain, park, or move between structures. These are priority zones for fixtures.
Next, measure distances and heights. Wall height above grade, distances between fixtures, and proximity to windows all influence brightness and positioning. A tall, two-story wall calls for higher-mounted fixtures: a low ranch porch may need fixtures closer together to avoid dark gaps. Standard spacing between sconces is 6–8 feet apart, though this varies with fixture brightness and wall reflectivity.
Consider light output, measured in lumens. A single 60-watt incandescent fixture produces roughly 800 lumens and suits small entry sconces. Larger areas or downlighting scenarios need 1,500–3,000 lumens per fixture. LED equivalents deliver the same lumens at a fraction of the wattage, a 12-watt LED provides 800+ lumens. Many municipalities limit outdoor lighting brightness and duration to reduce light pollution, so check local ordinances before installing high-lumen fixtures.
Color temperature matters for atmosphere. Warm white light (2700K) feels cozy and suits traditional and farmhouse styles. Neutral white (3000–4000K) is versatile and common in contemporary designs. Cool white (5000K+) works for security and modern minimalist settings. Avoid mixing color temperatures on the same wall.
Budget and mounting surface also factor in. Vinyl siding requires cutting a rectangular hole for wall-mounted boxes, which demands care to avoid water infiltration. Brick and stone need hole saws and masonry anchors, heavier fixtures need proper anchors rated for dead-load weight. Some homeowners find inspiration in curated collections of outdoor wall sconces when finalizing style choices.
Installation and Maintenance Tips for DIY Projects
Before you drill, turn off power at the breaker if wiring to an existing circuit. Outdoor fixtures must connect to GFCI (ground-fault circuit interrupter) protected outlets or circuits, this is code in most jurisdictions and essential for safety.
Materials you’ll need:
- Outdoor-rated wall fixture (wet or damp rated depending on exposure)
- 14/2 or 12/2 NM cable (electrical wire rated for outdoor use where required)
- Wire connectors and sealant rated for outdoor conditions
- Masonry anchors or lag bolts (for stone/brick) or wall brackets for siding
- Drill with masonry bit (if mounting on brick or stone)
- Drywall or masonry anchors appropriate to your wall type
PPE and tools:
- Safety glasses (required, dust from drilling will fly)
- Work gloves
- Stud finder (helpful for locating framing studs for added support)
- Level
- Pencil
- Wire stripper
- Needle-nose pliers
Installation steps:
-
Cut and prepare the opening. Mark the fixture location with a pencil, centered and level. For wall boxes, cut the hole slightly larger than the box’s template to allow easy insertion. If mounting on vinyl siding, seal around the box with exterior-grade caulk afterward.
-
Run power. If extending an existing circuit, turn off the breaker feeding the source outlet. Run cable through conduit or in-wall (follow local code, some require conduit outdoors). If creating a new circuit, hire a licensed electrician: outdoor circuit work often requires permits.
-
Secure the box or bracket. Use anchors rated for the wall material. For brick or stone, drill pilot holes with a masonry bit first. Use lag bolts or masonry anchors sized for the fixture weight (check the manual). For wood or siding, a stud-mounted bracket is stronger than anchors alone.
-
Connect the fixture. Strip about ½ inch of insulation from each wire. Connect black to black (hot), white to white (neutral), and bare copper to the fixture’s ground. Twist wires together, then secure with wire nuts rated for outdoor use. Wrap connections with waterproof sealant tape.
-
Mount the fixture. Slide the fixture onto the bracket or box, ensuring it’s level. Tighten all fasteners. Caulk any gaps between the fixture and wall.
-
Test and adjust. Turn power back on and test the light. If it doesn’t work, turn power off immediately and check all connections.
Maintenance is straightforward. Clean glass panels monthly with a soft cloth and mild soap, salt air and pollen accumulate quickly. Check caulk yearly, especially after freeze-thaw cycles, and reseal if gaps appear. Replace bulbs according to manufacturer specs. LED fixtures rarely need bulb replacement but may lose brightness gradually: replace the entire fixture once lumens drop noticeably.
For complex wiring, structural work on load-bearing walls, or tricky placements, don’t hesitate to call a licensed electrician or contractor. A second set of hands is often useful when positioning larger fixtures or running cable through walls. Many homeowners explore sophisticated fixture options for inspiration before tackling installation.
Finally, check your local building codes and permit requirements before starting. Some jurisdictions require permits for any new outdoor lighting circuit: others only for major rewiring. A permit ensures the work meets code and protects your home’s resale value.


