
Rochester homeowners know that winters are dark and long, daylight disappears by 4:30 p.m. in December. But outdoor lighting isn’t just about survival: it’s about extending your living space into the evening and keeping your property safe and welcoming year-round. Whether you’re planning to refresh an aging porch light or build a comprehensive outdoor lighting system, understanding the basics of placement, fixture types, and Rochester’s specific climate demands will help you make smart choices. This guide walks you through practical design principles, product options, and DIY-friendly installation strategies that work for our region.
Table of Contents
ToggleKey Takeaways
- Outdoor lighting in Rochester is essential for winter safety, security, and curb appeal, with proper illumination helping homeowners navigate icy driveways and walkways during long, dark months.
- Choose wet-location-rated fixtures made from stainless steel or powder-coated aluminum to withstand Rochester’s freeze-thaw cycles, salt spray, and heavy snow accumulation.
- Low-voltage (12V or 24V) hardwired systems outperform solar path lights in Rochester’s cloudy climate and are DIY-friendly without requiring an electrician’s permit for most installations.
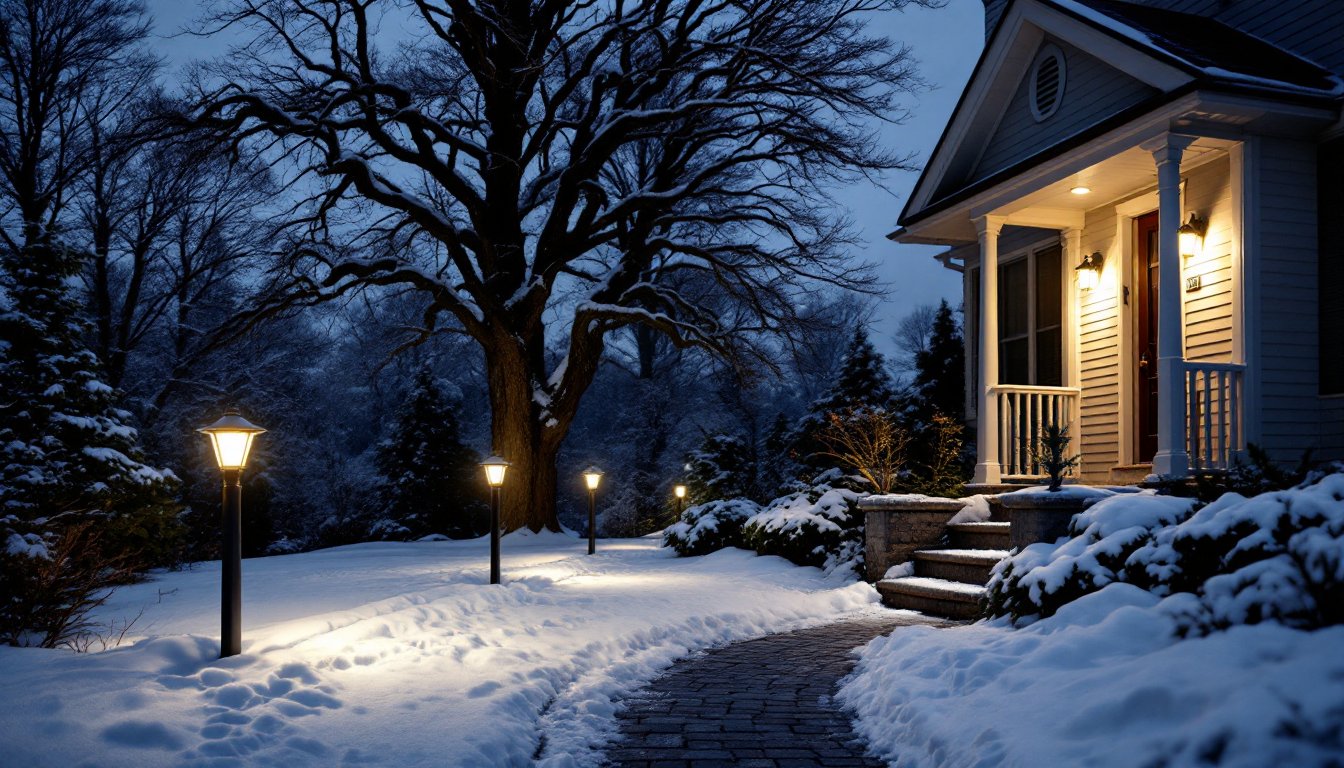
- Position path lights 18 to 24 inches above ground and space them 6 to 8 feet apart to prevent burial under winter snow while maintaining even coverage without glare.
- Warm white LED fixtures (2700K) are more practical than cool white for Rochester’s climate, reducing glare and creating welcoming entry points while saving long-term energy costs.
- Call 811 before digging and verify UF-rated cable installation at 12 inches deep per Rochester code; hire a licensed electrician for line-voltage work to ensure safety in wet conditions.
Why Outdoor Lighting Matters for Rochester Homes
Outdoor lighting serves three critical functions for Rochester properties: visibility, security, and curb appeal. During our long, dark winters, proper lighting lets you navigate driveways and walkways safely after sunset, a genuine safety issue when ice and snow are in play. Security lighting deters trespassers and wildlife, and it helps you spot hazards like broken steps or fallen branches before someone gets hurt.
Beyond function, outdoor lighting transforms how your home looks at night. Well-placed fixtures highlight architectural details, define landscape features, and create inviting entry points. A house that’s lit intentionally feels cared for: one with no lighting strategy feels abandoned. For resale value, buyers in Rochester appreciate homes where they can actually see their way to the door at night, it’s not a luxury feature, it’s a practical necessity in this climate.
Rochester’s freeze-thaw cycles are also important. Fixtures and wiring must be rated for outdoor use and installed with proper drainage to prevent ice buildup and electrical hazards. Cheap fixtures fail in our conditions: investing in weather-resistant products and correct installation saves headaches and money later.
Essential Outdoor Lighting Types for Your Property
Different areas of your property need different lighting approaches. Understanding the main types helps you plan a functional system.
Accent and Landscape Lighting
Accent lighting highlights trees, shrubs, architectural details, or stonework. These fixtures use lower wattage, typically 15W to 50W LED, and are placed to create shadow and depth. Uplighting a mature oak tree at the corner of your yard draws the eye and makes the landscape feel intentional: downlighting from a porch soffit creates a welcoming glow on entry steps.
Landscape lighting often uses path lights (10W to 20W), which sit low and guide foot traffic without glare. Solar path lights are tempting for budget reasons, but in Rochester’s cloudy climate and deep snow, hardwired low-voltage systems (typically 12V or 24V) are more reliable. Solar units often don’t gather enough charge in winter to light reliably.
Security and Pathway Lighting
Security lighting needs to be bright and strategically placed. Motion-sensor floodlights (30W to 100W LED) on corners and near entry doors deter unwanted visitors and activate when movement is detected, saving energy while delivering sudden illumination. Standard-output security lights run continuously, which raises electricity costs but ensures constant visibility.
Pathway lighting serves both aesthetics and function. How to choose outdoor lighting fixtures for your home walks through selecting the right fixture style and brightness for different areas. Aim for enough light to see obstacles (cracks, ice, changes in grade) without creating harsh shadows or blinding glare. Warm white (2700K) LEDs are friendlier than cool white and reduce glare.
Designing an Outdoor Lighting Plan for Rochester’s Climate
Rochester’s environmental factors, snow load, ice, wind, and humidity, directly affect lighting design and longevity. Here’s how to adapt:
Fixture Selection and Placement: Choose wet-location-rated or damp-location-rated fixtures (check UL or ETL labels). Sealed fixtures with silicone gaskets resist moisture better than open designs. Stainless steel or powder-coated aluminum materials last longer than bare metal in salt spray and freeze-thaw cycles. Locate fixtures where snow and ice won’t accumulate heavily: avoid placing path lights in areas where plows or shoveling will hit them.
Wiring and Drainage: Outdoor wiring must be UF-rated (underground-feed) cable buried at least 12 inches deep in Rochester (check local code with the City of Rochester Building Department for any updates). Proper slope and drainage prevent water pooling around fixture bases. If you’re burying conduit, slope it slightly away from the house and install drainage tile at low points.
Height and Spread: Winter snow reduces visibility, so lights placed too low get buried quickly. Eave-mounted fixtures and path lights on taller posts (18 to 24 inches) perform better than ground-level lights when snow accumulates. Space path lights 6 to 8 feet apart for even coverage without pooling light.
Seasonal Adjustment: Consider installing fixtures on dimmers or smart controls so you can dial down brightness on clear nights and increase it during fog or heavy snow. LED systems work well with most standard dimmers, but verify compatibility when purchasing.
Professionals in Rochester’s exterior lighting industry often recommend starting with a wired system for reliability, then adding solar or battery-powered accent lights once the core network is in place.
Budget-Friendly Installation Tips and DIY Solutions
You don’t need to hire a contractor for basic outdoor lighting, but know your limits. Low-voltage systems (12V to 24V) are relatively safe for DIY installation and don’t require an electrician’s permit in most cases, check with the City of Rochester before digging or running wires. Line-voltage systems (120V or 240V) involve live electrical circuits and should be handled by a licensed electrician, especially in wet environments.
DIY-Friendly Approach:
- Plan on paper first. Sketch your property, mark entry points, dark areas, and landscape features you want to highlight. Note where existing power sources (outdoor outlets, junction boxes) are located.
- Run low-voltage cable yourself. Hardwired 12V or 24V systems come as kits with a transformer, cable, and fixtures. Lay out the cable in a shallow trench or under mulch, then connect fixtures. No digging deep trenches or running conduit required for low-voltage work.
- Use plug-in solutions strategically. A weatherproof outdoor outlet can power a single accent light or string of uplights without running new wiring. Ensure the outlet is GFCI-protected (ground-fault circuit interrupter), which cuts power instantly if there’s a short.
- Bundle fixture installation. Most path and accent fixtures accept standard E26 bulb bases or connect to low-voltage rails. Install all fixtures of the same type at once, less fumbling, fewer mistakes.
Cost Reality: A basic low-voltage landscape lighting kit (transformer, 50 feet of cable, four to six fixtures) runs $80–$200 at home centers. Adding LED bulbs (instead of incandescent) costs a bit more upfront but saves money over time and performs better in cold weather. A professional electrician’s initial consultation and wiring work might be $500–$1,500 depending on scope, but that investment pays off in safety and compliance.
Tools You’ll Need:
- Shovel and hand spade (for trenching)
- Voltage tester (for line-voltage work: non-negotiable if you touch existing wiring)
- Wire strippers and connectors (low-voltage cable doesn’t require these, but helpful for custom runs)
- LED bulbs rated for outdoor/wet locations
- Silicone sealant (for fixture-to-housing gaps)
Safety Warnings: Always call 811 (or your local utility locating service) before digging to mark buried gas, electric, and water lines. Wear gloves and eye protection when handling cable and connectors. If you’re unsure about electrical connections, stop and call a licensed electrician, electrical fires and shocks are real risks in damp conditions.
Conclusion
Outdoor lighting in Rochester isn’t decorative, it’s practical infrastructure that extends your home’s usability and safety through dark winters. Start with a simple plan, prioritize fixtures rated for wet locations and freeze-thaw cycles, and decide where DIY work makes sense and where professional help is worth the investment. Whether you’re lighting a front entryway or designing a full landscape system, the fundamentals remain: good design, quality materials, proper installation, and honest assessment of your skills. Your lit-up home will feel welcoming, secure, and genuinely more livable year-round.


