
Good lighting over your kitchen sink transforms the workspace from dim and frustrating to functional and welcoming. Whether you’re washing dishes, prepping meals, or simply looking out the window, proper illumination makes all the difference. Over kitchen sink LED lighting has become the go-to choice for DIY homeowners because LEDs are energy-efficient, long-lasting, and available in fixtures that actually look good. This guide walks you through your options, how to pick the right brightness and color temperature, and the straightforward installation steps to get your sink area properly lit.
Table of Contents
ToggleKey Takeaways
- Over kitchen sink LED lighting improves visibility and safety while using 75% less energy than incandescent bulbs and lasting 25,000-50,000 hours.
- Under-cabinet LED strips and pendant lights are the two most popular fixture types, with strips offering simplicity and pendants providing both function and visual appeal.
- Aim for 400-800 lumens with a color temperature between 3000K-4000K to balance task visibility without harsh shadows or eye strain.
- Adhesive under-cabinet strips are DIY-friendly installations requiring only surface prep and careful mounting, while pendant lights typically need professional electrician assistance for safe wiring.
- Match the color temperature across all your kitchen lighting fixtures to create a cohesive, unified look that enhances both functionality and ambiance.
Why LED Lighting Over Your Kitchen Sink Matters
Your kitchen sink is one of the hardest-working spots in your home. You’re leaning over it for extended periods, washing dishes, prepping vegetables, scrubbing pans, and shadow from your body or upper cabinets kills visibility fast. Without proper lighting, you strain your eyes and end up missing spots on plates or produce.
LED fixtures are ideal because they emit consistent, flicker-free light without the heat penalty of older halogen or incandescent options. Unlike fluorescent tubes, LEDs don’t have the mercury or ballast hum that bothers some people. Over kitchen sink LED lighting also cuts your energy consumption compared to traditional fixtures: LEDs use about 75% less energy than incandescent bulbs and last 25,000 to 50,000 hours depending on the fixture.
Beyond energy and longevity, LED fixtures come in designs that match modern kitchens. Whether you prefer sleek under-cabinet strips that hide behind trim or statement pendant lights that anchor your sink area, there’s an option that fits your aesthetic. A properly lit sink area also improves food safety, you’ll spot contamination or spoilage more easily, and makes the workspace feel intentional rather than tacked-on.
Types Of LED Fixtures For Kitchen Sink Areas
Under-Cabinet LED Strips
Under-cabinet LED strips are thin, linear fixtures mounted on the underside of upper cabinets, shining light down onto your countertop and sink. They’re among the most popular choices for over-sink lighting because they’re unobtrusive and deliver focused illumination exactly where you need it.
LED strip lights come in two main varieties: adhesive-backed strips (peel-and-stick) and channel-mounted strips (installed in an aluminum or plastic track for a more finished look). Adhesive strips are faster to install, just clean the cabinet bottom, peel, and press, but the adhesive can fail over years if the surface gets greasy or humid. Channel-mounted strips require more prep work: you’ll drill mounting holes and secure an aluminum channel first, then snap the LED strip into it. The trade-off is durability and a cleaner appearance that hides the wiring.
Brightest under-cabinet strips deliver 400–600 lumens across the 24–36 inch width typical of most sink areas. Look for options with warm white (2700K–3000K) or neutral white (4000K–4100K) color temperature. Warm white creates a cozy feel: neutral white is ideal if you’re also using task lighting elsewhere in the kitchen. Many modern strips are dimmable via remote or wall switch, which adds flexibility.
Pendant Lights And Flush Mounts
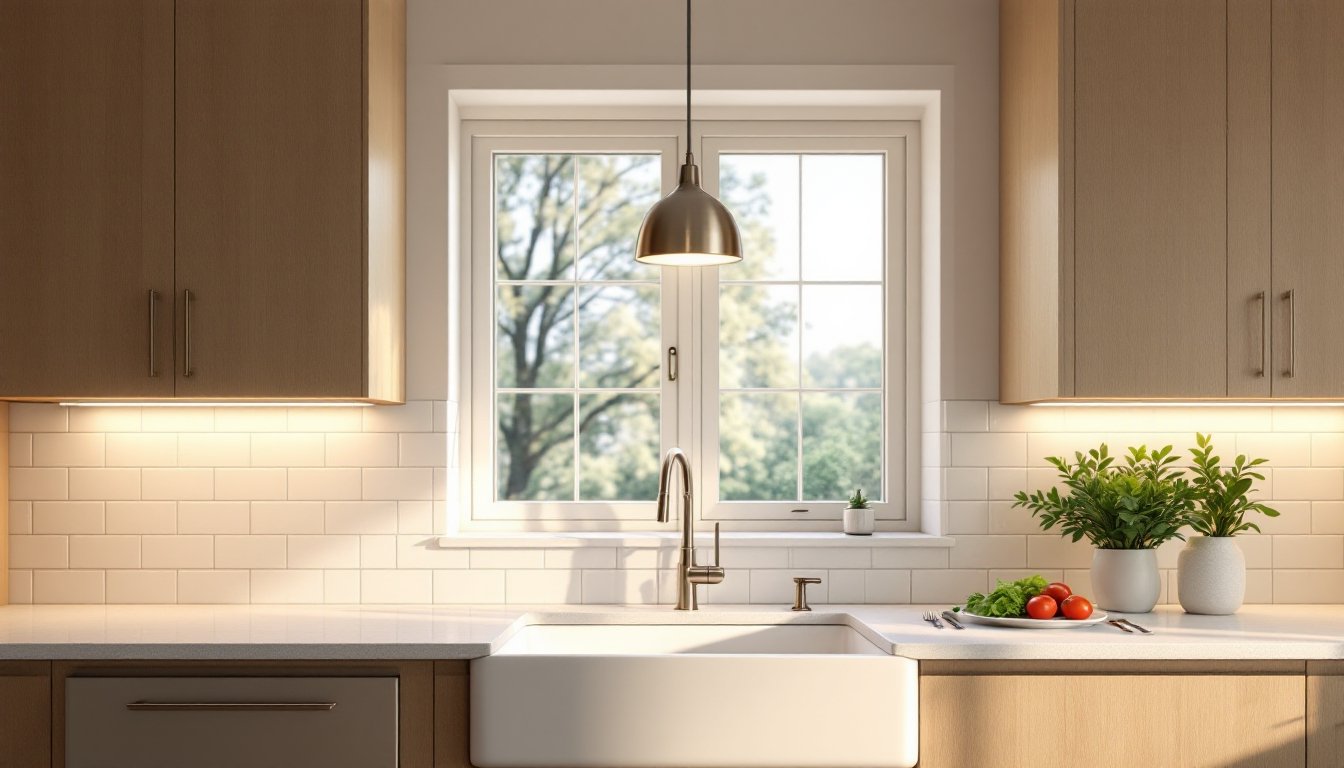
Pendant lights hang from the ceiling on chains or rods, positioning a single fixture, or a pair, directly above your sink. Flush mounts sit flat against the ceiling, useful if your sink is directly under a low soffit or if you want a more integrated look.
Pendants over a sink are both functional and decorative. They can span 8–15 inches in diameter and come in materials like brushed metal, ceramic, wood, or even fabric shades. The key is choosing one rated for damp locations (kitchens qualify, especially near water) and ensuring the fixture hangs 24–30 inches above your sink counter for optimal light spread without glare.
Flush mounts are compact and don’t require much ceiling clearance, making them ideal for galley kitchens or tight layouts. Both pendant and flush mount options should feature LED bulbs or be sold as complete LED fixtures. Always check that the fixture supports the wattage (or lumen output) you need. LED home lighting fixtures designed for kitchens often include additional features like glass or acrylic diffusers to soften light and reduce harsh shadows.
How To Choose The Right LED Brightness And Color Temperature
Choosing brightness and color temp is where many DIYers stumble. You can’t just buy the brightest LED you find: context matters.
Lumens measure brightness. For over-sink task lighting, aim for 400–800 lumens depending on whether it’s your only light source or supplementary. If your kitchen has recessed ceiling lights, 400–500 lumens from strips or a pendant is sufficient. If the sink is in a dark corner with no other overhead light, push toward 700–800 lumens. Remember that lumens can feel different depending on how the fixture distributes light, a narrow spotlight feels brighter than a diffused panel of the same lumen output.
Color temperature, measured in Kelvins (K), shapes how the space feels and functions. 2700K (warm white) is yellowish and relaxing, great for creating ambiance and hiding minor imperfections. 3000K–3500K is a neutral warm, comfortable for extended work. 4000K–4100K (cool white or neutral white) is bright and clean, ideal for tasks where color accuracy matters (matching produce ripeness, checking for stains). 5000K and above is daylight-like and clinical: avoid this for kitchens unless you love the look.
For a kitchen sink, 3000K–4000K is the sweet spot. This range is energetic enough for detailed work without feeling harsh. If you’re pairing over-sink LEDs with other kitchen lighting, match the color temperature across fixtures for a cohesive feel. Many kitchen lighting home depot products specify color temp on the packaging, so check before purchasing.
Installation Tips For Over-Sink LED Lighting
Installation difficulty depends on your fixture type. Adhesive under-cabinet strips are DIY-friendly: pendant lights require basic electrical work and possibly a permit if you’re adding new circuits.
For under-cabinet LED strips:
- Prep the surface. Wipe the underside of your cabinet with a damp cloth, then dry thoroughly and wipe with rubbing alcohol to remove grease and dust. Let it dry completely, even 30 seconds of air-dry helps.
- Plan your layout. Measure your sink width and mark where the strip will run. Most strips come in 16-foot or 32-foot rolls: cut them to length with scissors or a utility knife (some strips have pre-cut lines for this).
- Mount the strip. If using adhesive strips, peel the backing and press firmly along the marked line, starting at one end and working toward the other. Hold pressure for 30 seconds. For channel-mounted strips, drill holes into the cabinet underside (use a cordless drill and 5/32-inch or 3/16-inch drill bits, depending on channel specs), screw in the aluminum channel, and snap the LED strip into the channel clips.
- Connect the power. Most LED strips come with a 24-volt transformer and a remote or wall-switch dimmer. Run the transformer cable (typically 18 or 22 gauge) along the cabinet edge, tucking it behind the kickboard or trim if possible. Plug into a nearby outlet or, if you want permanent installation, have a licensed electrician hardwire it into your kitchen circuit. This isn’t a cosmetic choice, a hardwired connection is safer and looks cleaner.
- Test and adjust. Power on and check brightness and color. Most dimmable strips let you adjust from 10–100%.
For pendant lights:
Hanging a pendant over your sink typically means running new wiring through the ceiling or tapping into an existing overhead circuit, work that often requires a permit. If you’re replacing an existing overhead fixture, the wiring is usually already there. If you’re adding a new pendant where nothing existed, you’ll need to:
- Turn off power at the breaker.
- Run electrical cable (typically 12 AWG for 20-amp circuits) from your breaker panel or a nearby junction box to your new fixture location. This may involve opening drywall and running cable through joists.
- Install a ceiling box rated for the pendant’s weight. Most LED pendants weigh 2–5 pounds, so standard boxes work: confirm your fixture weight first.
- Connect the incoming cable to the fixture’s junction using wire nuts and a simple wire splice (follow the fixture’s wiring diagram).
- Screw the canopy (the cover plate where the chain emerges) to the ceiling box.
- Hang the chain to the desired height (24–30 inches above counter is standard) and attach the pendant shade.
If you’re unsure about electrical work, call a licensed electrician. Most will charge $150–$300 to install a single pendant, money well spent if it keeps you safe. Under cabinet lighting home depot and similar retailers often carry fixtures with detailed installation guides: read yours before starting.
General safety notes:
- Always wear safety glasses when drilling cabinet undersides: dust falls downward.
- Use a voltage tester before touching any existing wiring to confirm the circuit is dead.
- LED fixtures generate minimal heat, but ensure your transformer isn’t covered by insulation or confined in tight spaces: they need modest air circulation.
- Don’t install LED strips near water sources without ensuring they’re IP65-rated or higher (splash-resistant). Strip lights designed for kitchens carry this rating: check the product specs.
- If you live in an area with strict electrical codes (many jurisdictions now require permits for hardwired lighting work), apply for one before starting. It’s a bureaucratic step, but inspectors catch safety issues.
Conclusion
Over kitchen sink LED lighting doesn’t have to be complicated. Start by choosing your fixture type, under-cabinet strips for simplicity and clean looks, or pendants if you want a statement piece. Pick a brightness (400–800 lumens) and color temperature (3000K–4000K) that suits your task and aesthetic. Then follow the installation steps carefully, prioritizing surface prep and safe electrical connections. Recent guidance from family handyman and the kitchn emphasizes that most homeowners can handle strip installation themselves, while pendant installation benefits from professional help if you’re unfamiliar with electrical work. A well-lit sink transforms your kitchen workflow and adds real functionality to a space you use every single day.


