
Track pendant lighting combines the best of both worlds, the sleek, contemporary appeal of pendant fixtures with the flexibility and adaptability of track systems. Unlike fixed pendant lights, track pendants attach to a rail system, letting you position and angle them exactly where you need light most. Whether you’re updating a kitchen island, brightening a home office, or adding personality to a living room, track pendants deliver both function and design impact. This guide walks you through what they are, why they’re worth installing, and how to get them right the first time.
Table of Contents
ToggleKey Takeaways
- Track pendant lighting combines contemporary design with flexible positioning, allowing you to adjust fixtures along a rail system without rewiring.
- Track pendants solve real installation challenges by eliminating the need for separate ceiling boxes and offering rental-friendly alternatives to permanent light fixtures.
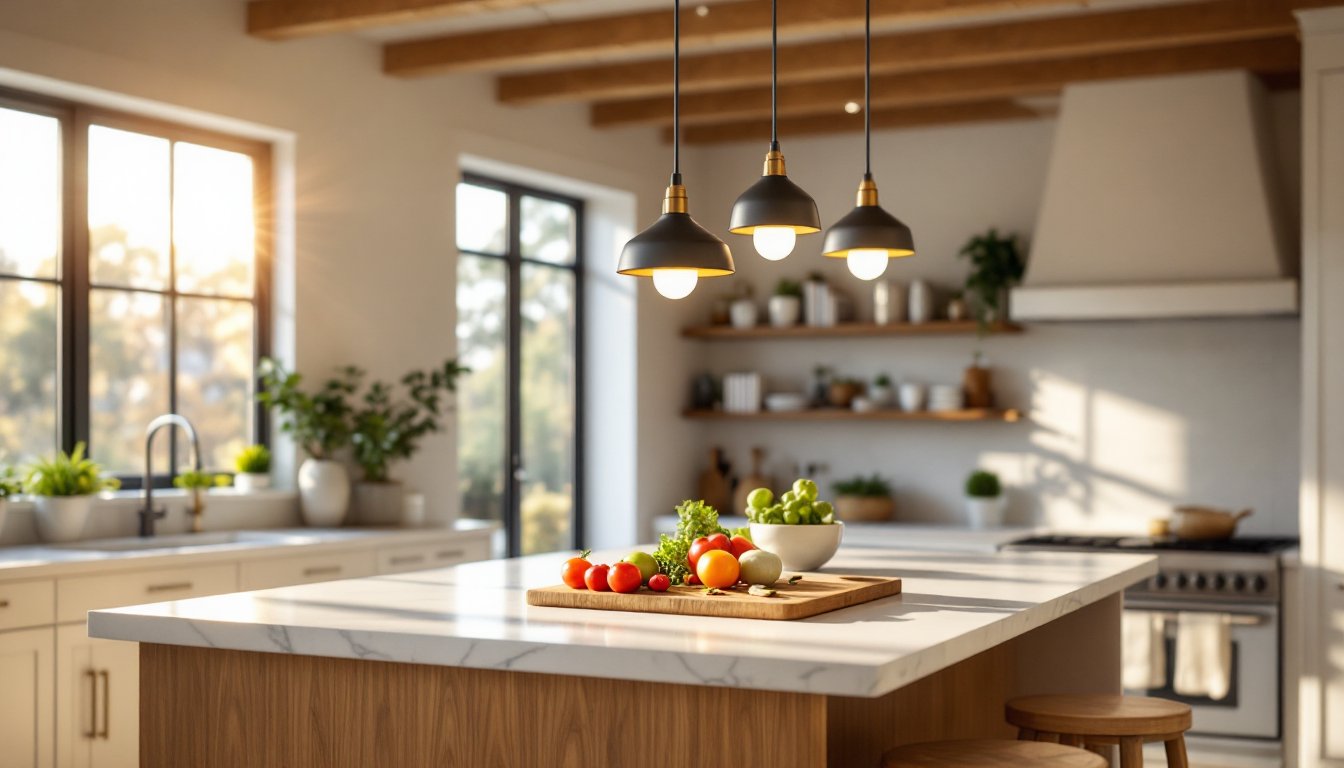
- Proper spacing and height matter: space pendants 12–18 inches apart over kitchen islands and hang them 30–36 inches above countertops to avoid blocking sightlines.
- Choose between single-circuit systems for simple on/off control or multi-circuit systems for layered lighting that lets you control different pendant groups independently.
- LED bulbs rated 9–15 watts per pendant work for average spaces, while 18–23 watt equivalents suit task lighting over islands and desks.
- Always verify electrical capacity, check ceiling type, secure fasteners to joists, and consult a licensed electrician if wiring runs through walls or you’re uncertain about installation safety.
What Is Track Pendant Lighting?
Track pendant lighting consists of a linear rail (or track) mounted to your ceiling or wall, with individual pendant fixtures that slide along the track and lock into place. The track carries power to each pendant, so you don’t need separate ceiling junction boxes for every fixture. The pendants hang at varying heights and can be repositioned or swapped out without rewiring, ideal for spaces that evolve.
The track itself comes in two standard gauges: single-circuit and multi-circuit systems. Single-circuit tracks carry one electrical circuit, meaning all fixtures on that track share the same on/off switch. Multi-circuit (or two-circuit and three-circuit) systems let you control different groups of pendants independently. Track lengths range from 4 feet to 12+ feet and can be configured in straight runs, L-shapes, or even curved sections depending on the rail style.
Pendants hang by a flexible cord, metal stem, or rigid rod from the track connector. This adjustable height is what makes them different from hard-wired hanging fixtures. The fixture housing, usually made from metal, ceramic, or glass, holds the bulb and diffuses light. Most modern track pendants accept LED bulbs with standard E26 or E27 bases, though some use specialized dimmable LED modules.
Why Choose Track Pendant Fixtures for Your Home
Track pendants solve real problems that traditional lighting can’t. They let you add task lighting over a kitchen island without opening walls or running conduit. They’re rentable-friendly because many systems hang from a ceiling-mounted track without permanent holes. You can reposition them if you rearrange furniture or redecorate, no electrician call required.
They also scale beautifully. A single pendant looks minimalist over a hallway console table. Three or five pendants strung across an island create visual rhythm and balanced illumination. You control the spread and intensity by choosing pendant spacing and bulb wattage. Installation costs less than running separate circuits to multiple ceiling boxes, and you avoid the surface-mount box look that some find dated.
From a style standpoint, track systems themselves have evolved. Sleek matte-black or brushed-nickel rails blend into modern ceilings. Pendant shades range from industrial metal cylinders to frosted glass globes to geometric ceramic forms, far more variety than you’d find in a typical fixed chandelier. Modern track pendants also integrate Design Milk has featured extensively, contemporary furniture and lighting trends, letting homeowners match fixtures to their actual décor instead of settling for whatever comes in a builder-grade pack.
Design Styles and Aesthetic Options
Track pendants come in finishes and shapes to suit every design preference. Industrial styles feature matte-black metal shades, exposed bulbs, and minimalist stems. Mid-century modern pendants use wood, brass, or teak accents paired with soft fabric or paper shades. Scandinavian designs favor clean lines, light woods, and frosted diffusers. Coastal and farmhouse styles lean toward woven, rattan, or linen shades in warm tones.
Material choice matters. Metal shades direct light downward and create dramatic shadows, good for task areas. Glass or frosted diffusers spread light more evenly and soften glare. Ceramic or fabric shades add warmth and texture but reduce brightness, so pair them with higher-wattage bulbs if you need serious illumination.
Colorwise, pendant fixtures coordinate with cabinet hardware, faucet finishes, and other metals in the room. Black-track systems typically pair with black knobs and faucets. Brushed-brass pendants work with warm gold accents throughout the space. Consistency across finishes makes a room feel intentional and polished.
Planning Your Track Pendant Installation
Before you buy or install anything, measure and sketch your space. Identify where you need light most: over a kitchen island? Along a dining table? Above a work desk? The location determines track length, pendant count, and positioning.
For kitchen islands, a common rule is to center the track over the island and space pendants 12 to 18 inches apart. A 4-foot island typically calls for two to three pendants: a 6-footer works with three to four. Pendant height depends on clearance below, hang them 30 to 36 inches above countertop height (or about 60 to 66 inches from the floor) to avoid blocking sightlines while still casting focused light. Adjust downward if you have high ceilings: adjust upward if you have low ones or obstructed views.
Check your ceiling type. Drywall ceilings require standard electrical boxes and ceiling-rated fasteners rated for at least 50 pounds per fixture (include the weight of the track and all pendants). Plaster ceilings need toggle bolts or masonry anchors rated for the combined load. Cathedral or vaulted ceilings complicate installation, the track should follow the ceiling slope, and you may need longer stems or cord to maintain proper height. Popcorn ceilings pose aesthetic challenges and may contain asbestos (if built pre-1980s), so test before disturbing.
Check your electrical. You’ll need an existing junction box or ceiling outlet where the track terminates and connects to power. If no outlet exists above your desired track location, you’ll need to run wire from a nearby circuit through the attic or within walls. This is permit territory in most jurisdictions, check with your local building department. A licensed electrician can assess whether your existing circuit has spare capacity for new pendants or if you need a dedicated line.
Selecting the Right Fixtures and Configuration
Match track size to fixture weight and spacing. Most residential track systems use H-track or J-track profiles, which support fixtures up to 30 to 50 pounds per connector (depending on the brand and rail strength). Heavier ceramic or specialty pendants may require heavier-duty commercial-grade track.
Choose single-circuit or multi-circuit based on your control needs. Single-circuit is simpler and cheaper for casual applications, a hallway or secondary seating area where one switch on/off is fine. Multi-circuit systems cost more upfront but let you dim or control the first three pendants separately from the last two, creating layered lighting. This is especially useful in kitchens and living rooms where you might want bright task light during cooking but softer ambient light during dinner.
For bulbs, LED dominates now. Choose 9-watt to 15-watt equivalent (roughly 800–1200 lumens) per pendant for average kitchen and living spaces. Go brighter (18-watt to 23-watt) over islands and desks. Check the color temperature: 2700K (warm white) feels cozy: 3000K (neutral white) works for most homes: 4000K or above is clinical and best avoided in residential settings unless you’re highlighting art.
Verify compatibility before buying. Track systems from different manufacturers rarely work together, and old incandescent track systems may not support modern LED connectors. If replacing a decades-old system, plan on replacing both track and pendants. Newer systems often come with Kitchen Lighting Home Depot offers curated track and pendant combinations, but don’t assume all pieces fit, cross-check specifications with your track brand’s compatibility chart.
Installation Tips and Best Practices
Safety first. Shut off power at the breaker box before touching any wiring. Wear safety glasses and gloves when drilling or handling metal track, which has sharp edges. If you’re uncomfortable working above your head with power tools, or if the job requires running new wire through walls, call a licensed electrician.
Prep your ceiling. Use a stud finder to locate joists, then trace your track location with a pencil. Most tracks mount perpendicular to joists, so fasteners hit solid wood. If your track must run parallel to joists, space fasteners 16 to 24 inches apart and use toggle bolts or heavy-duty drywall anchors in drywall bays. Drywall alone won’t safely hold a track system, anchors alone aren’t enough for anything heavier than ambient light fixtures.
Install the track. If you’re connecting to an existing ceiling outlet, the track wiring connects there. Use wire nuts rated for the gauge of wire involved (typically 12-gauge for a 20-amp circuit). Slide the track onto the mounting brackets, level it with a 24-inch or longer level, and tighten fasteners. Don’t skimp, loose tracks develop wobble and eventual failure.
Add pendant connectors. Slide connectors onto the track and space them according to your layout. Lock them in place with the connector’s set screw. Attach cord, stem, or rod to the connector, then hang the pendant shade. Test the connection, pull gently downward: it shouldn’t slide.
Wire and test. Connect wiring inside the track following the manufacturer’s diagram. Typically, conductors feed from the junction box through the track’s internal channel to each pendant’s connector. Use wire nuts and heat-shrink tubing for secure connections. Before closing any covers, flip the breaker back on and test all fixtures. If a pendant doesn’t light, check the connector contact and the bulb. Common failures are loose connectors or incompatible bulbs.
Most track pendant systems can be installed by a confident DIYer in 2 to 4 hours, depending on track length and ceiling height. If you’re uncertain, don’t guess, call in a pro. A licensed electrician’s fee (often $150 to $300 for a straightforward install) is cheap insurance against an unsafe or code-violating installation. Building codes vary by jurisdiction, so confirm requirements with your local building department. Some areas require an inspection after electrical work: others don’t. It’s worth the five-minute call.
Conclusion
Track pendant lighting offers flexible, stylish illumination that adapts as your home and needs evolve. Plan carefully, measure twice, match your system components, and prioritize safety, especially with electrical connections. The result is a lighting solution that looks custom-built and performs exactly as intended, elevating both form and function in your space.


